Outdoorsman’s Review of UCO Flatpack Stove & Fire Pit

Fire, anywhere, any time.
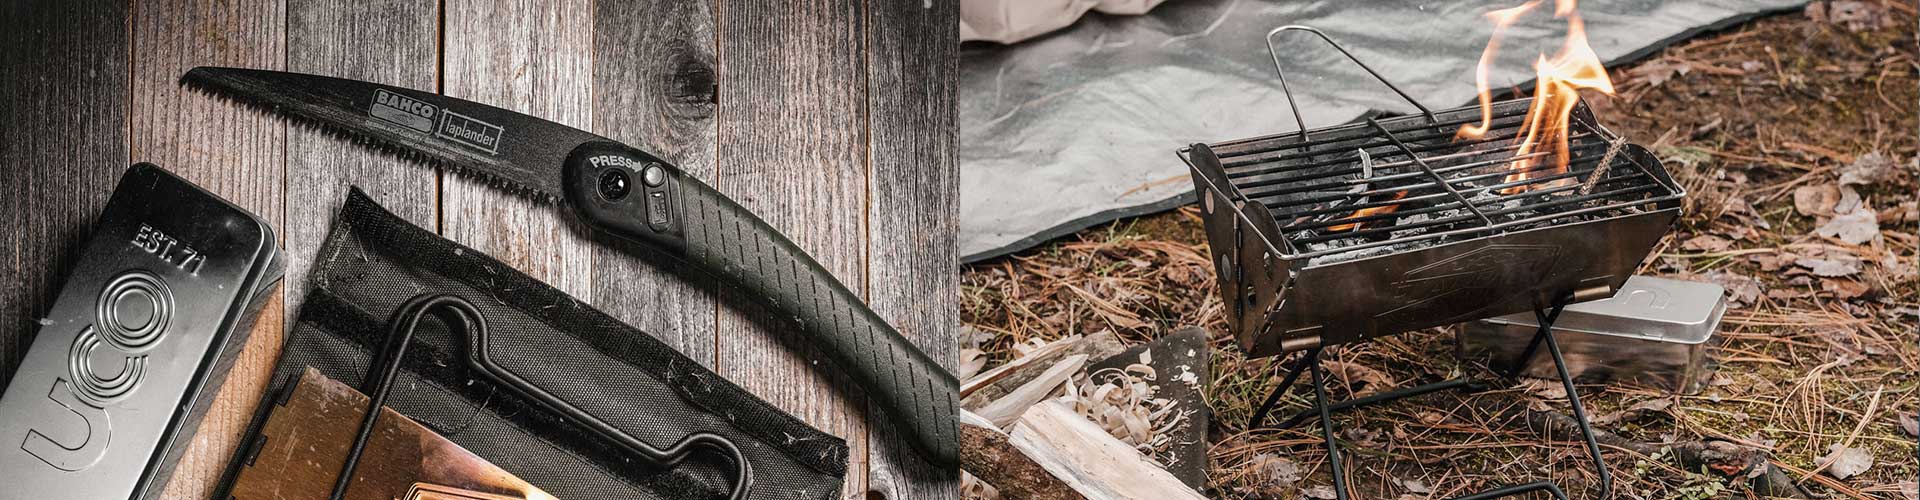
Nothing beats the ability to have a fire anywhere, at any time. However, there are times when a large, open campfire is not an option, for a variety of reasons. That’s where the UCO Mini Flatpack Grill and Firepit comes into the picture.
The UCO Flatpack Grill and Firepit is perfectly sized to fit into a day pack, small side bag or haversack. And, as the name suggests, it folds down into an extremely flat profile. The grill also runs off of naturally anything you can find in nature. So, there’s no need for bulky fuel canisters.
However, since this is not a ‘flip-a-switch’ kind of stove, I have noticed that some people struggle with it a bit in the beginning. So, I wanted to break things down below and show you just how simple it is to use.
How To Use the UCO Flatpack Grill & Fire Pit
Setup:
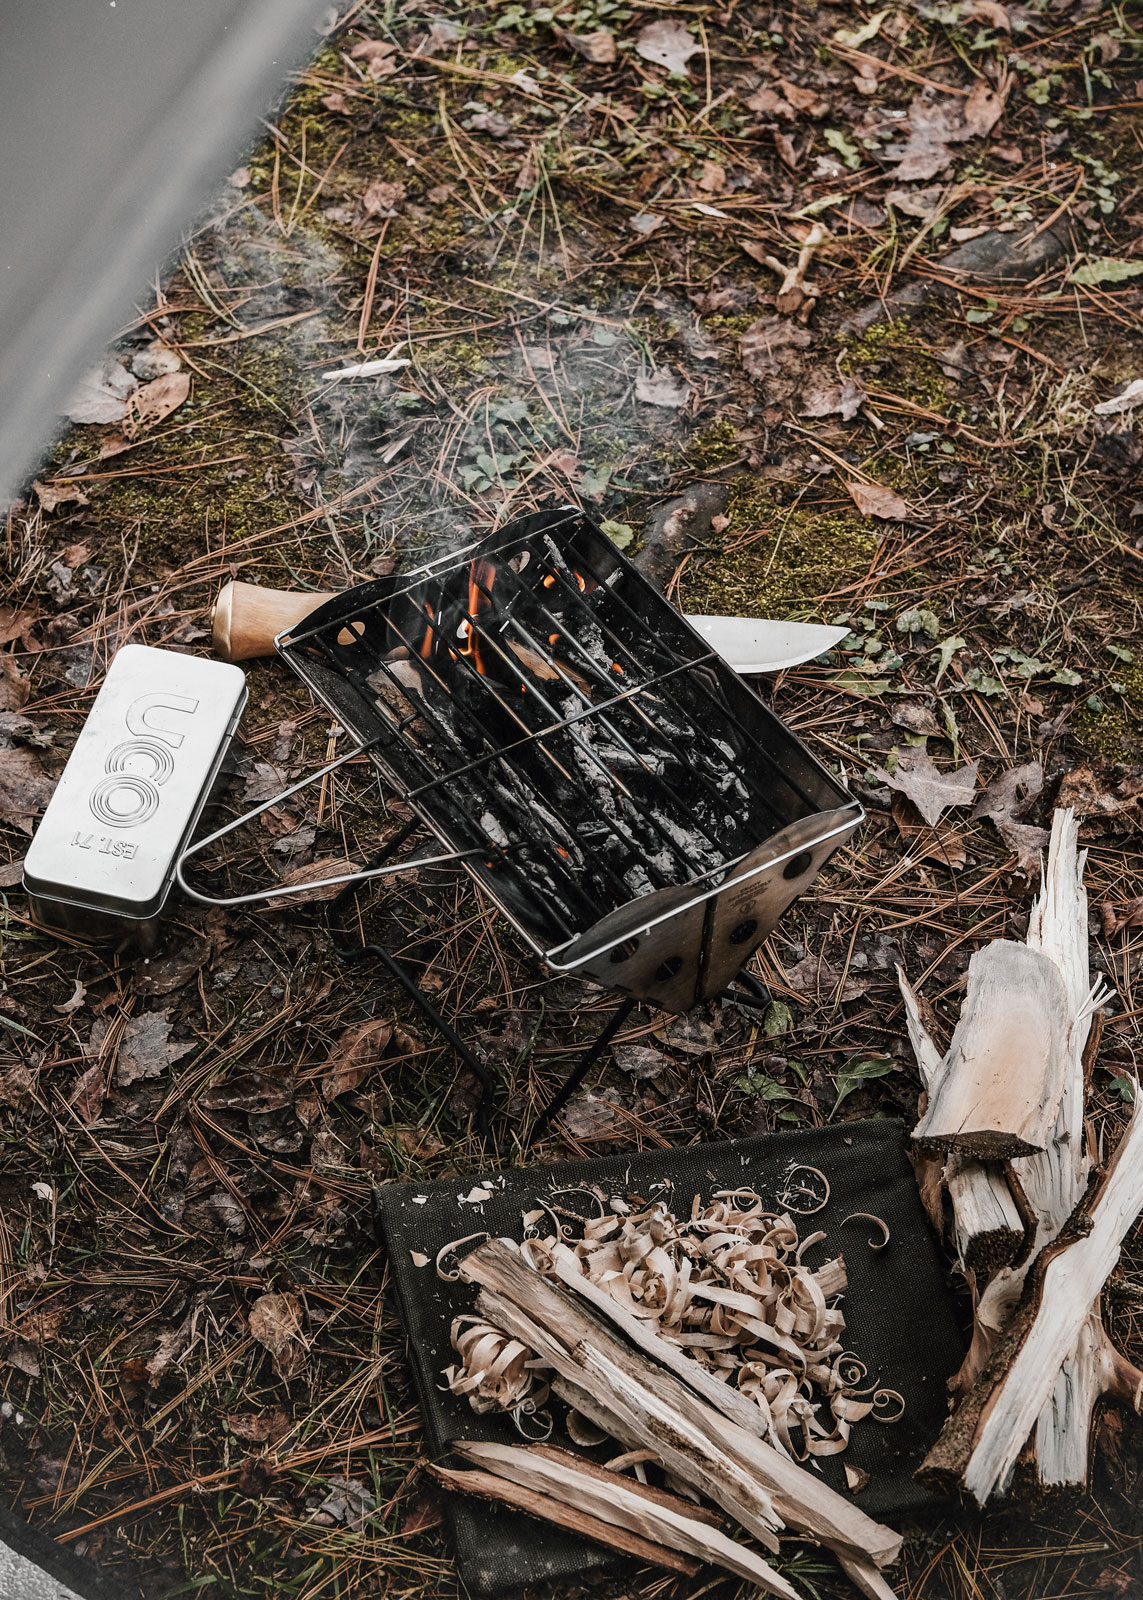
First and foremost, the Flatpack Grill and Firepit sets up very quickly (in 30 seconds or less). Simply find a flat surface, unfold the legs and place the grill grate on top. Yeah, it’s that simple.
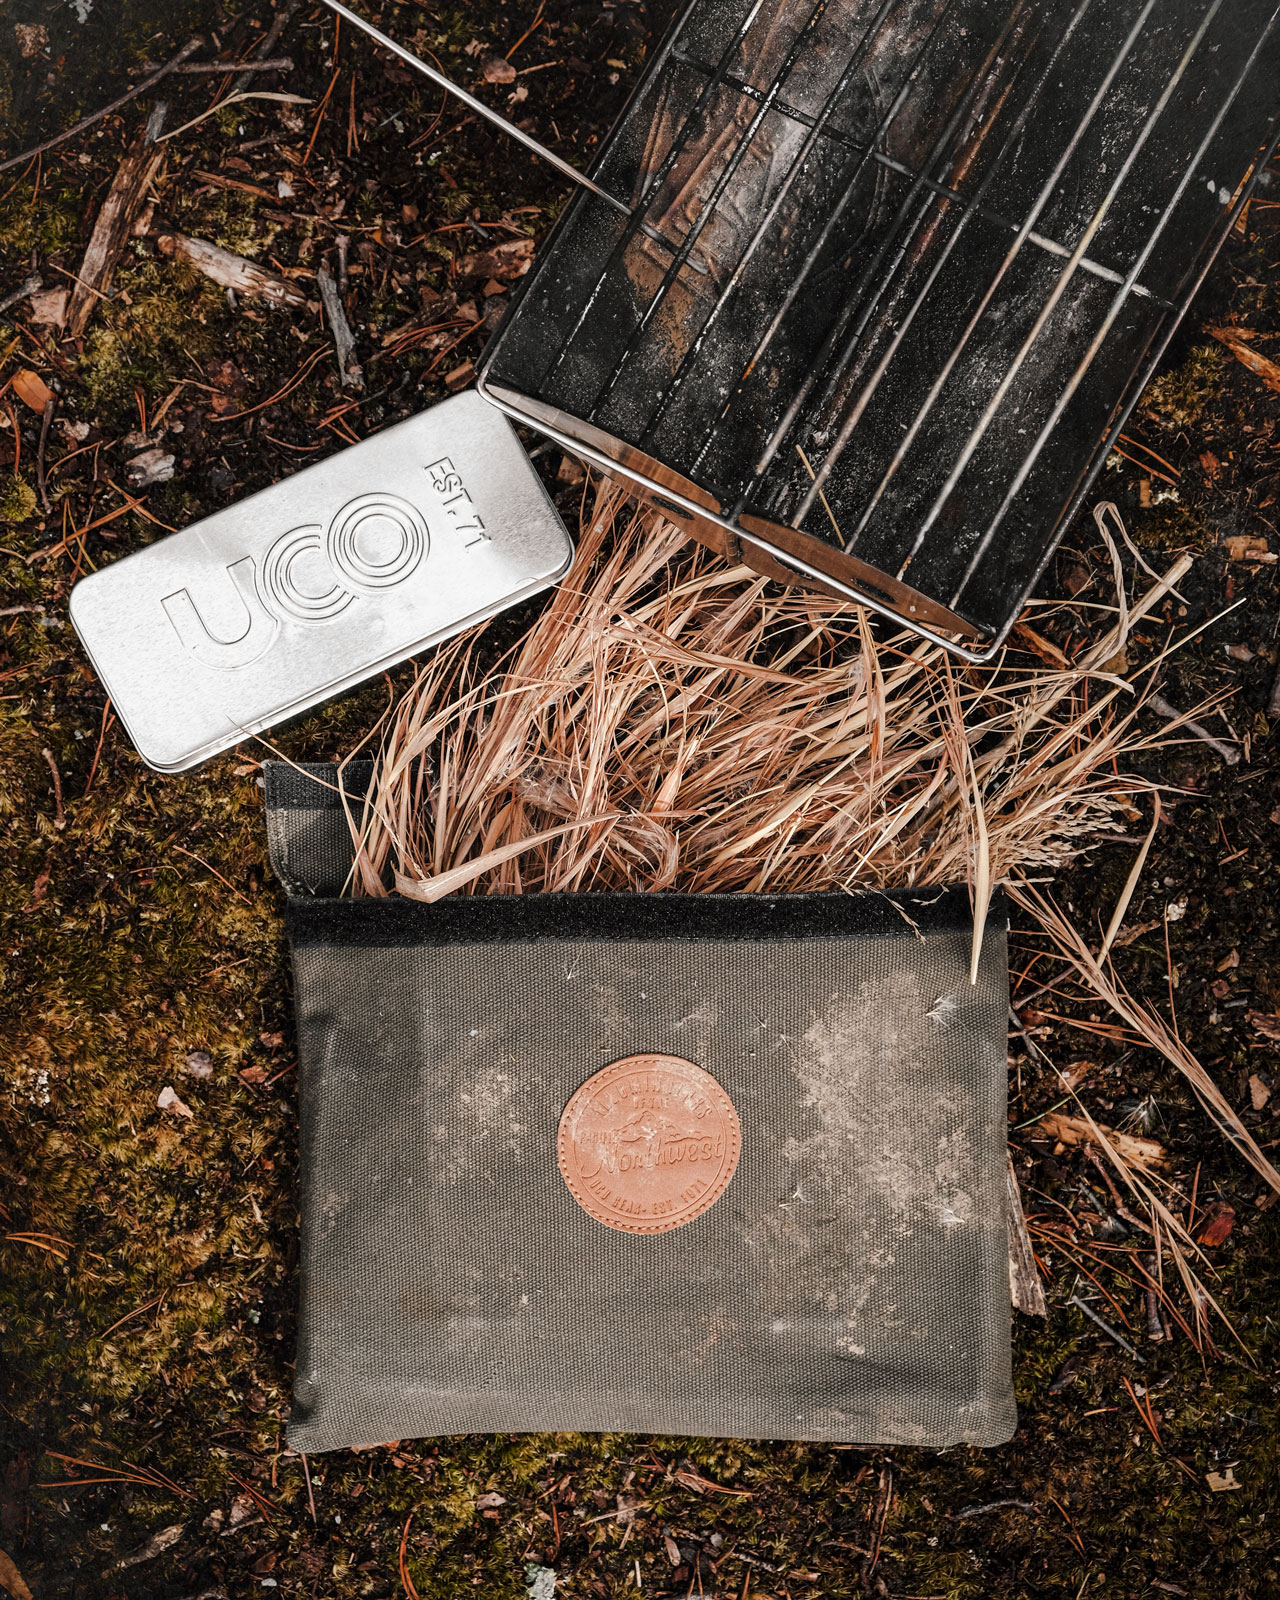
Tinder Collection + Supplied Canvas Bag:
After you have the grill set up, you now have a canvas tinder collection bag, as shown above. This is perfect for collecting a number of dry tinder materials: Dried grasses, tree bark, fatwood, and so on. It also works like a charm as a dry/flat surface to make feather sticks or shavings on top of.
Read more about natural fire starters here.

Wood processing for UCO Grill & Firepit
Start Small and Move Up:
Once you have gathered your smaller tinder materials in your bag, it’s time to grab your kindling and fuel for the fire. Think about the sizes of these materials in this way: First process some wood down to #2 pencil lead thickness, then move up to #2 pencil thickness and on-up from there for longer burning pieces of fuel.
The thinner the wood is, the easier it will catch on fire, which is crucial when starting your fire. The thicker the wood is, the longer it will burn and create coals, once you have your fire established.
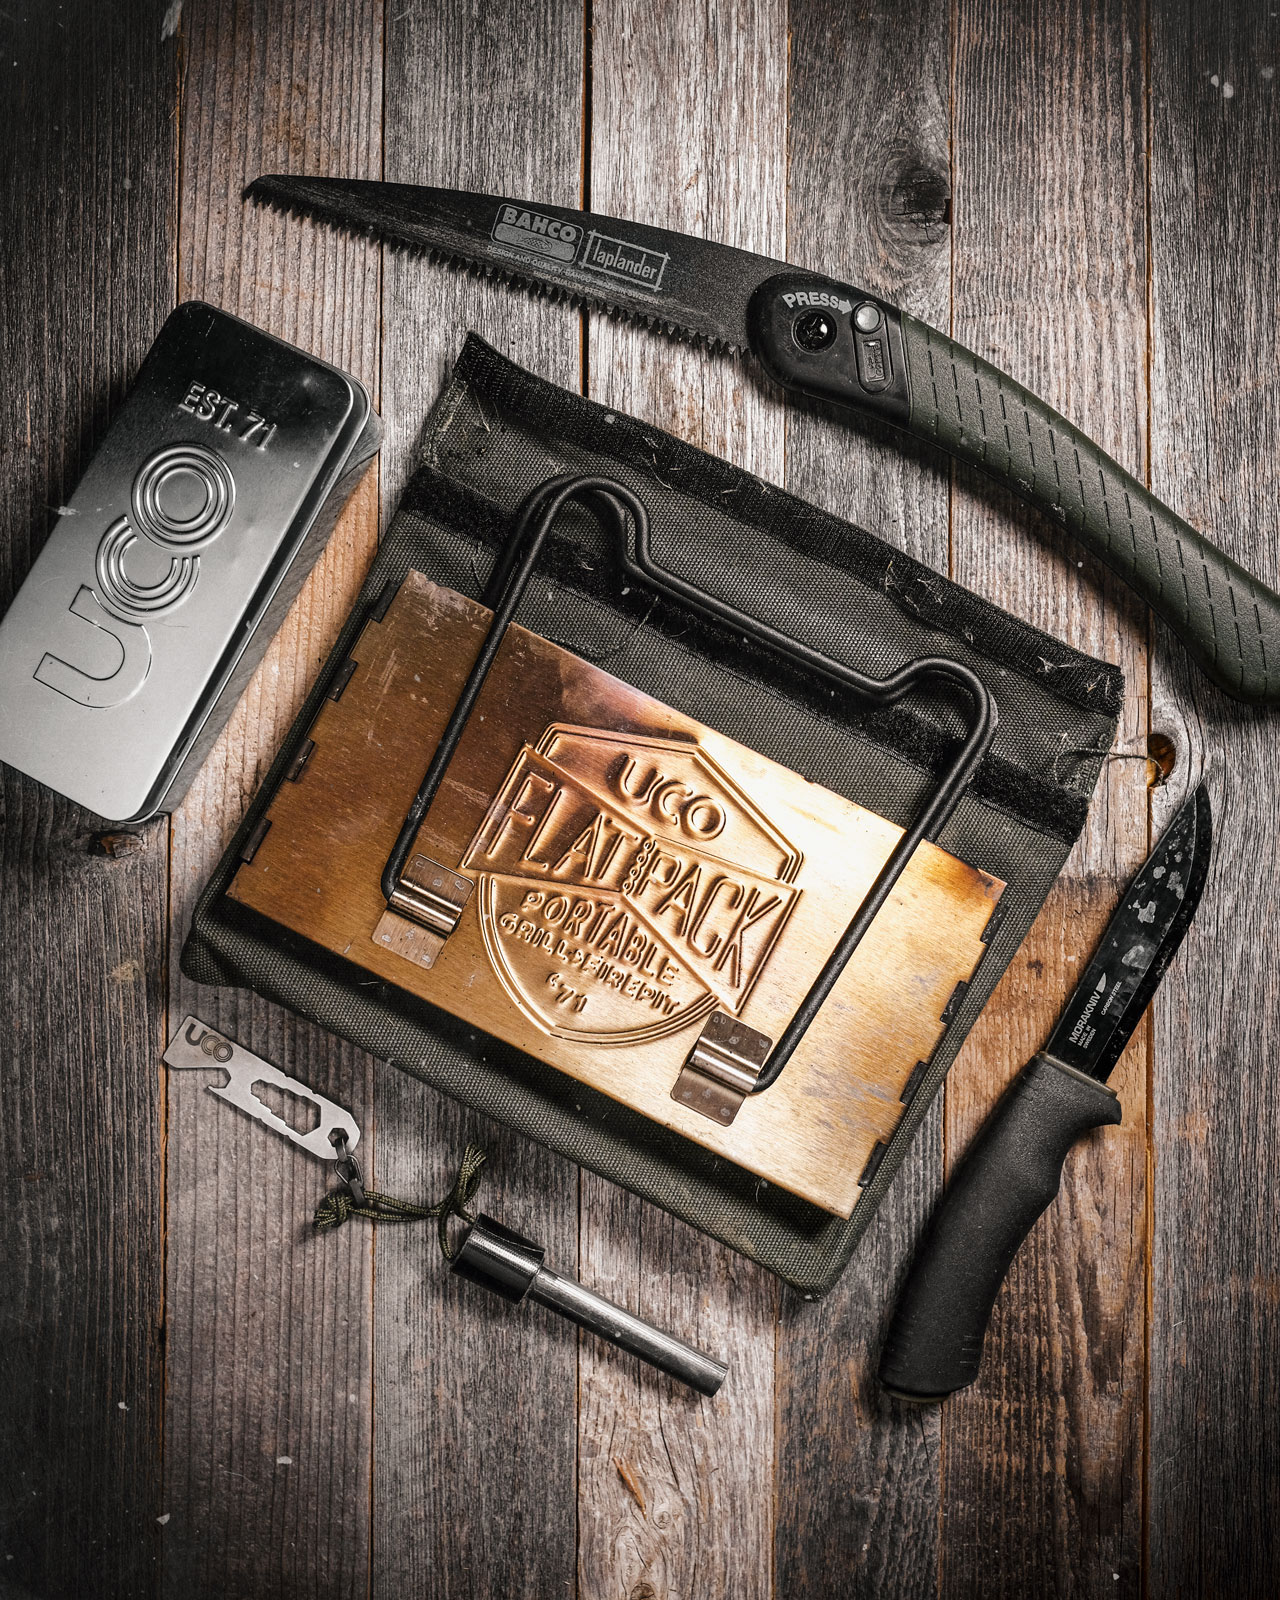
Let’s talk gear…
For wood processing, you can choose whichever tools you prefer. I personally like to go lightweight with my tools and use a good fixed blade knife and a small saw. I use my saw to cut 3” diameter sections of logs to the length of the grill. I then baton the logs down to the sizes I’ve mentioned above. I will also subsidize the really small pieces of kindling with dead twigs, if I can find them.
As soon as I have my piles of wood processed and organized, I like to layer a base of larger material in the bottom of the grill. This is not necessary, but it does allow the wood to start catching fire a bit quicker and to form a coal base.
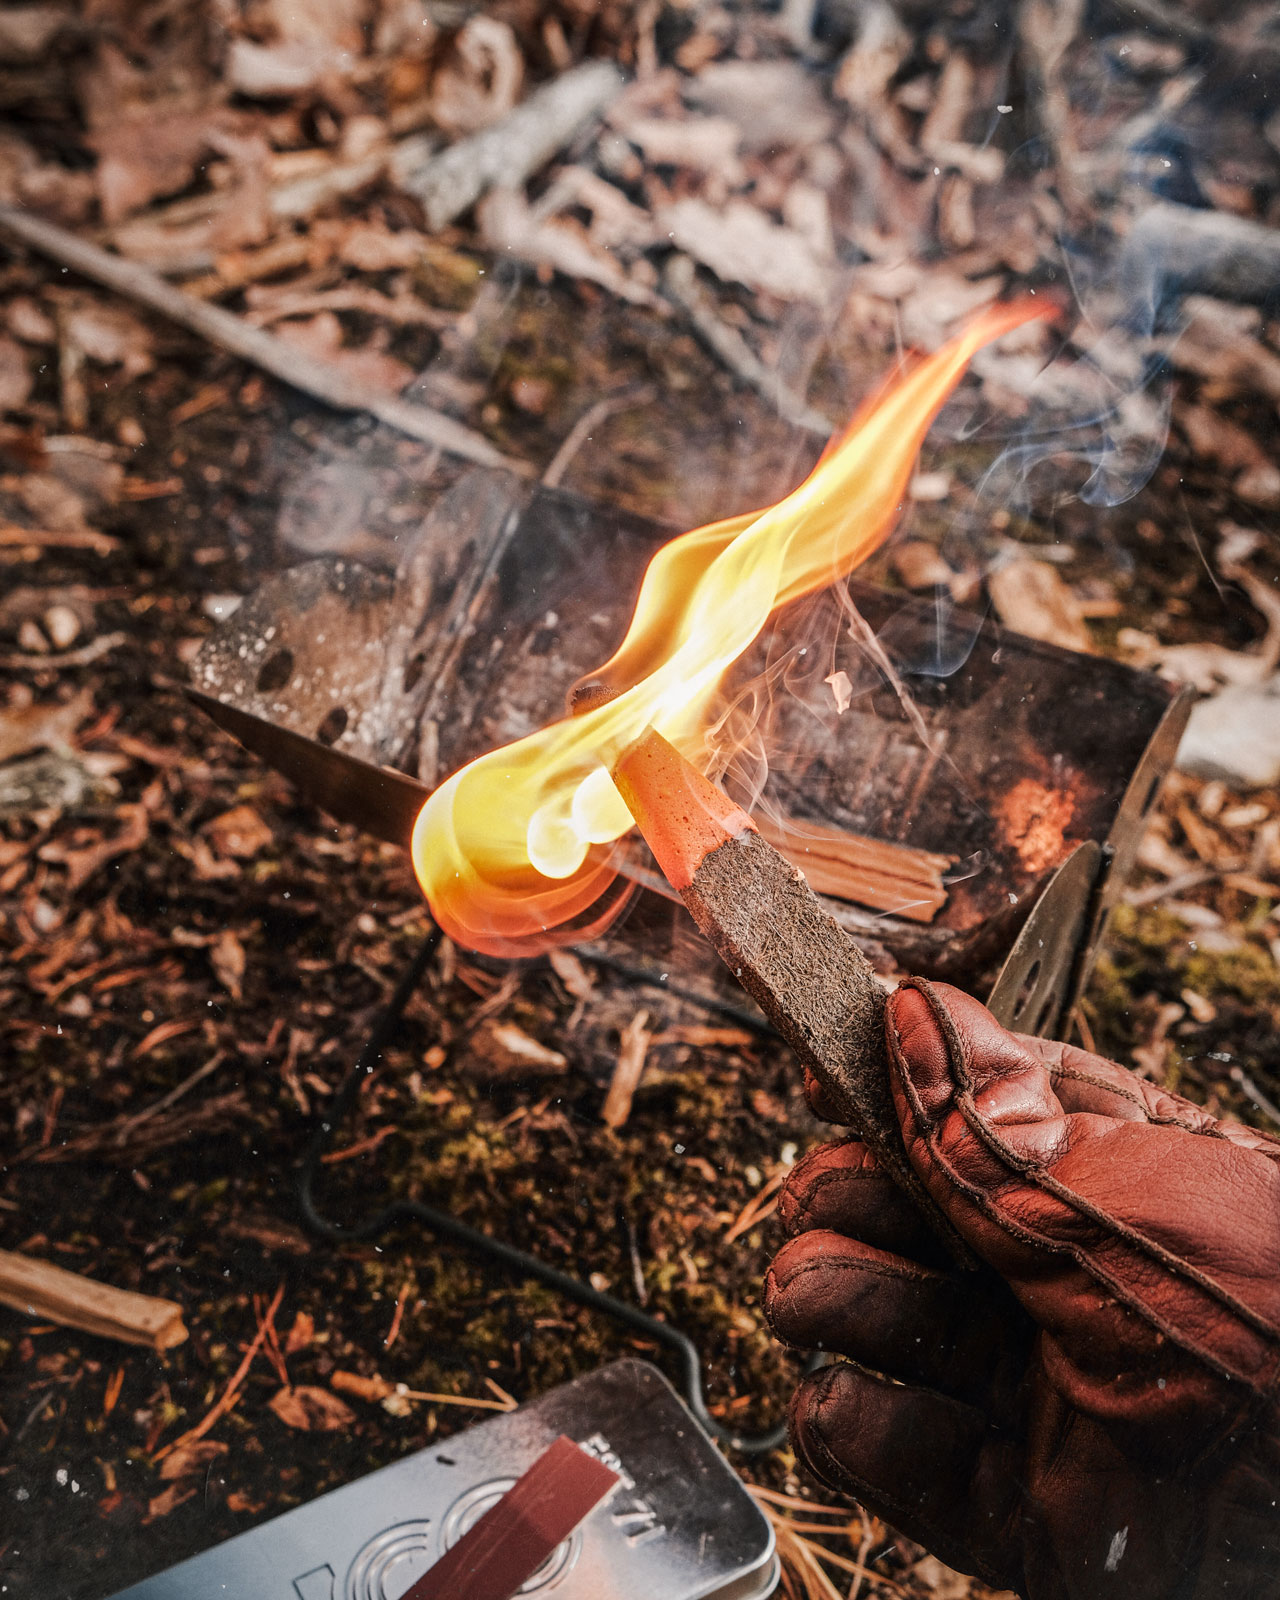
Firestarters
Fire starting methods are totally dependent upon what you prefer. I either use a ferro rod (which requires a bit more tinder prep) or a Sweetfire Firestarter, as you can see above.
I prefer the Sweetfire Firestarters on days when there is high wind or it’s cold & damp. You can use them without fine motor skills, they help to dry out wet tinder or kindling and they stand up to high winds very well.

Getting the fire started…
As you can tell, the bulk of our time and preparation went into getting the materials properly processed for the actual lighting process. Paying special attention to this process is extremely important. It ensures that you won’t have to repeat your steps because you don’t have enough or the right kinds of materials.
Now, let’s get this fire started:
- Strike your Sweetfire, giving you an open flame.
(This can also be done with a ferro rod. If you want to learn that method, click here.) - Lay your small tinder materials overtop of the sweetfire, being careful not to smother the flame. These should catch very quickly as long as they’re dry.
- Once the flame reaches over the top of your tinder bundle, place your kindling (#2 pencil lead and pencil thickness). I personally like to lay my kindling in a “V” shape along the edges of the grill to give the fire lay some oxygen.
- The flames will eventually overtake your kindling material. And that is when you will need to start placing larger fuel to sustain your fire.
- Once your fire is well sustained, you can put the grill grate on top and begin cooking.
As you can see from these steps it’s all about starting small and working up to your larger diameter materials.
The 2 most common mistakes I see people make with bio-stoves are these:
- They try to start out with large materials and never get them lit.
- Or, they constantly feed their stove with small twigs and have to unnecessarily baby it.
If you use the method I’ve outlined, I can ensure you that you will have a long & sustainable fire for cooking and even warmth, which I’ll break down below.
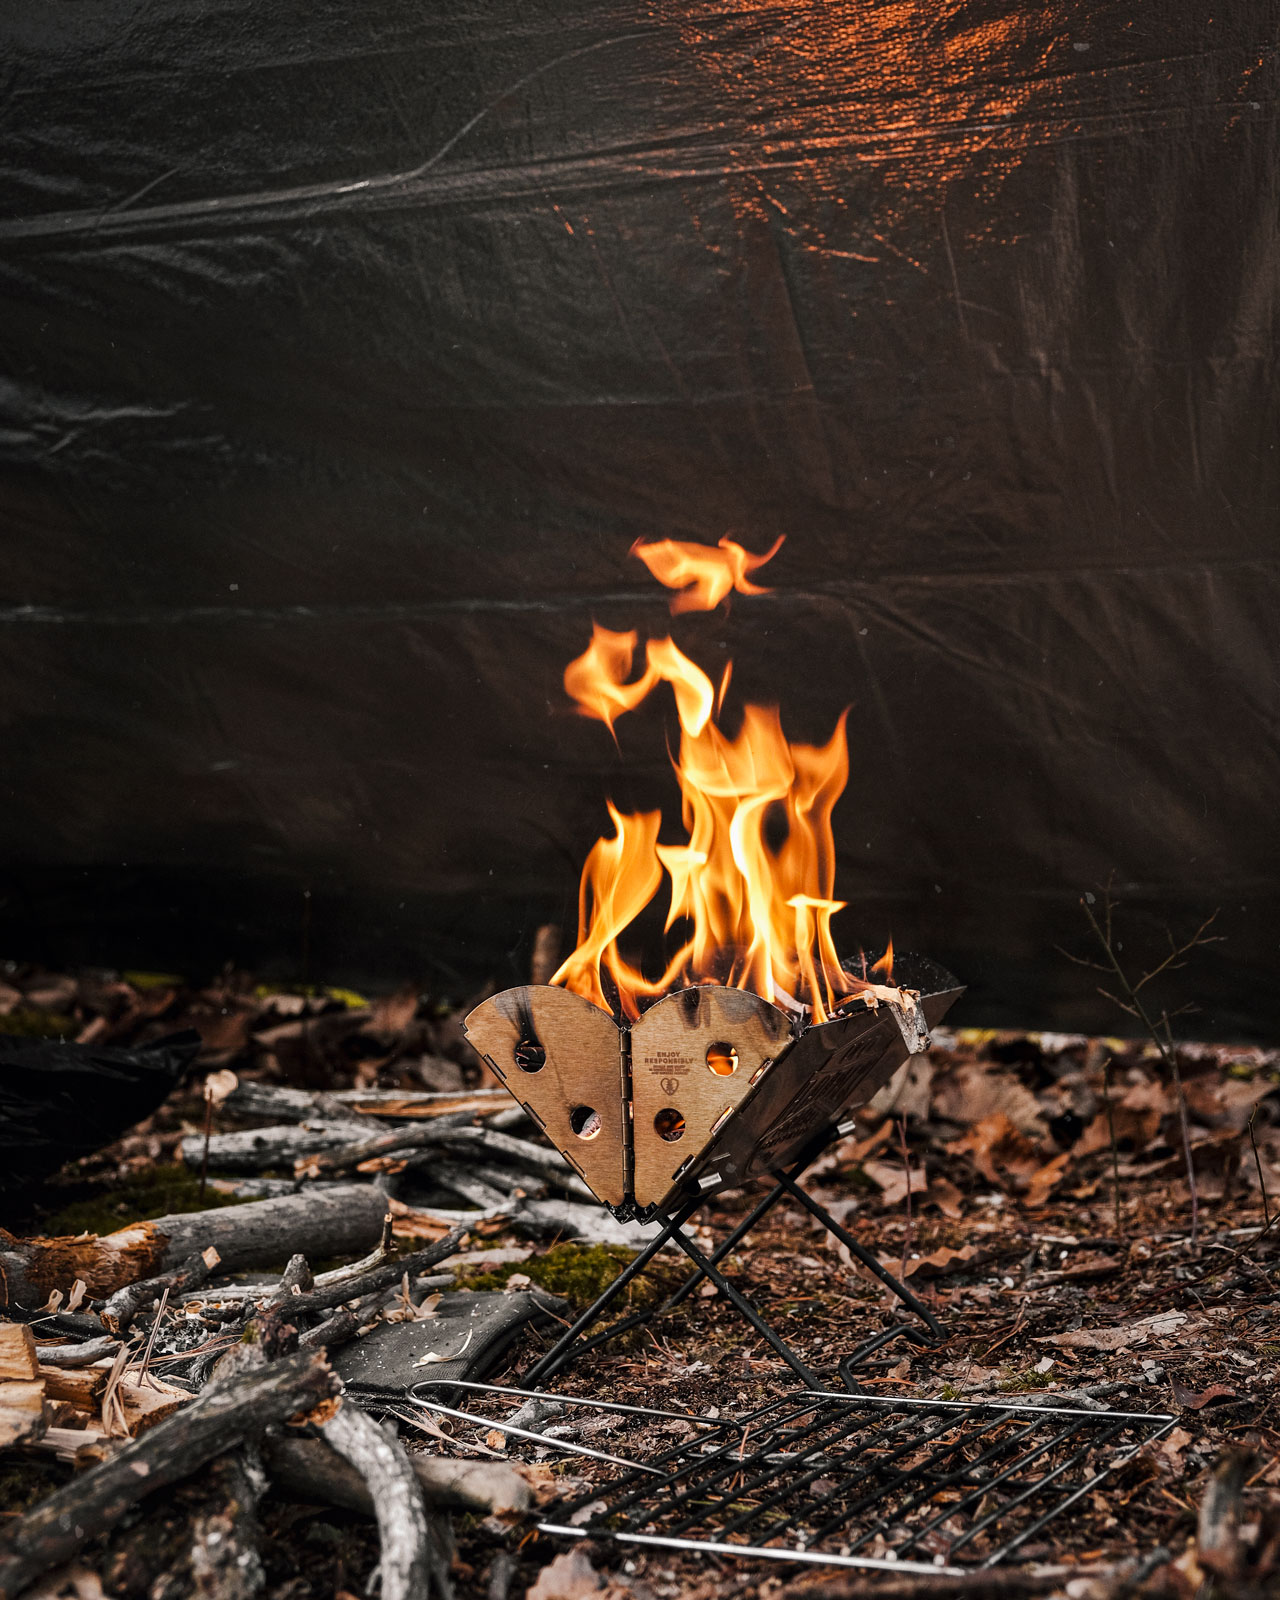
Using the UCO Flatpack Grill for Warmth
The UCO Flatpack Grill is unique amongst this genre of stoves. Not only will it allow you to cook and boil water, but it also puts off a noticeable amount of heat. As you can see above, I have a reusable space blanket configured as a lean-to with the reflective side pointing back at me and the grill is just outside of my shelter.
I had no way of precisely measuring the temperature difference inside of the shelter, but it was certainly much warmer inside than it was outside. If I had to guess, the temperature difference was safely 15 degrees (f) warmer.

Some ideas for using the UCO Mini Flatpack Grill & Firepit
- The Mini Flatpack Grill is perfect for small groups. You can easily cook for 2 to 3 people on this grill.
- The grill is large enough to fit any of these arrangements at one time:
6 hotdogs, 2 burgers, a couple of steaks, large batches of coffee or teas, a couple cups of soup…Your belly and imagination is the only limitation here. - Perfect to use during quick hikes when you don’t have time to build and extinguish a full campfire.
- Great for road trips and/or car camping trips.
- Excellent for winter camping when you need some extra warmth.
- Lastly, these grills are a lot of fun. If you’re new to fire-making or a seasoned pro, you’ll enjoy it and learn a lot about fire making with it.

About The Author
ANTHONY AWAKEN
Based in the beautiful state of Kentucky and surrounded by the Appalachian Mountains, Anthony is a full-time photographer within the outdoor industry. While in the field, Anthony focuses on photographing gear & outdoor skills in the most beautiful way possible. Alongside his commercial work, Anthony also maintains an active social media presence and personal website geared towards the adventure lifestyle.