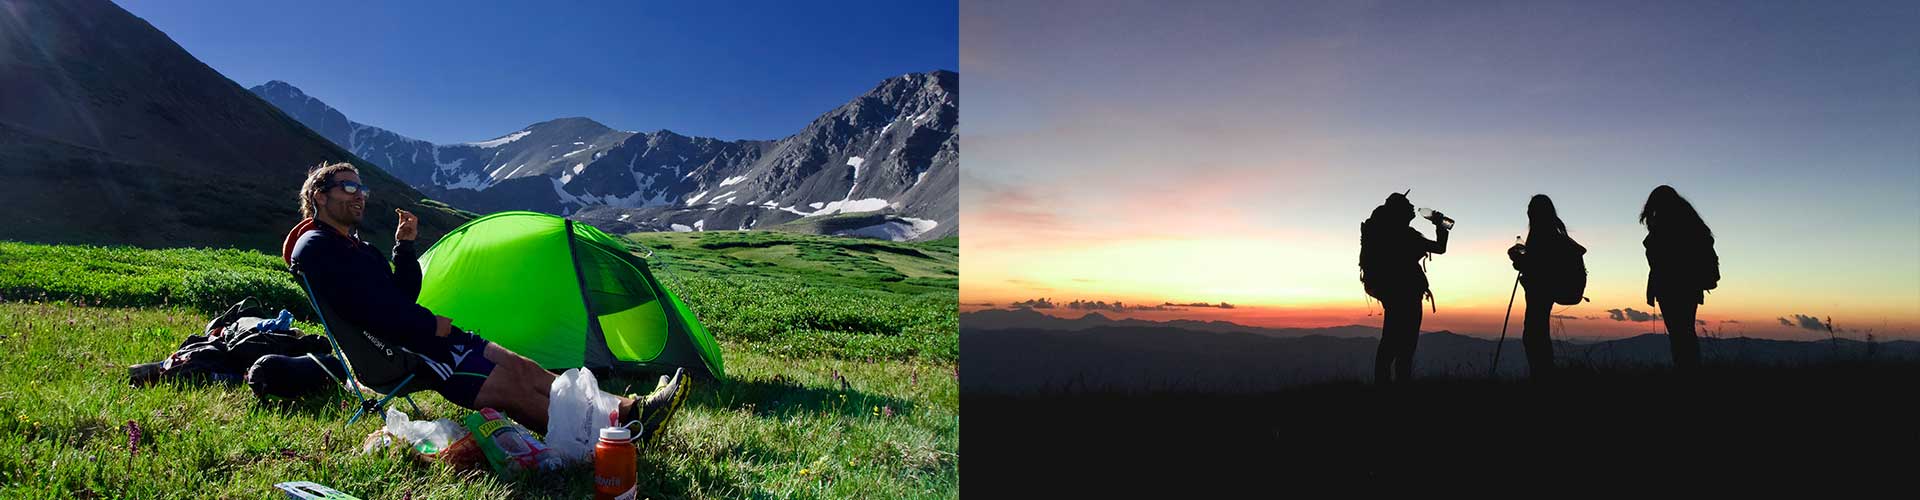
Ultralight backpacking tips
How to save weight and choose gear that pulls double-duty
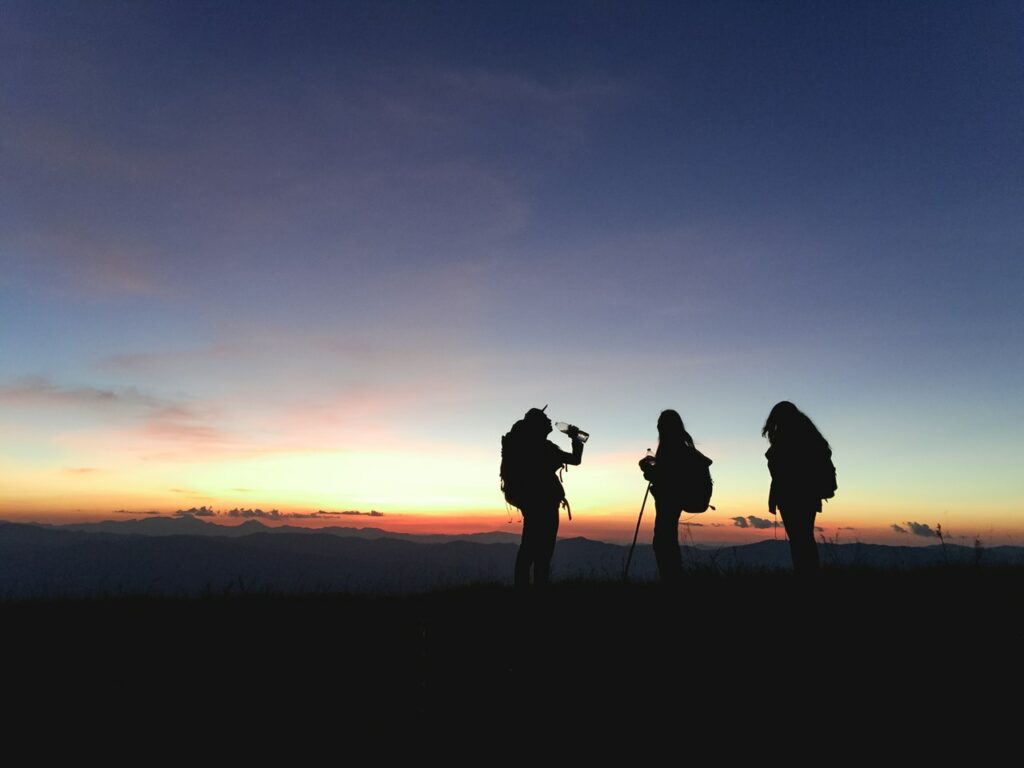
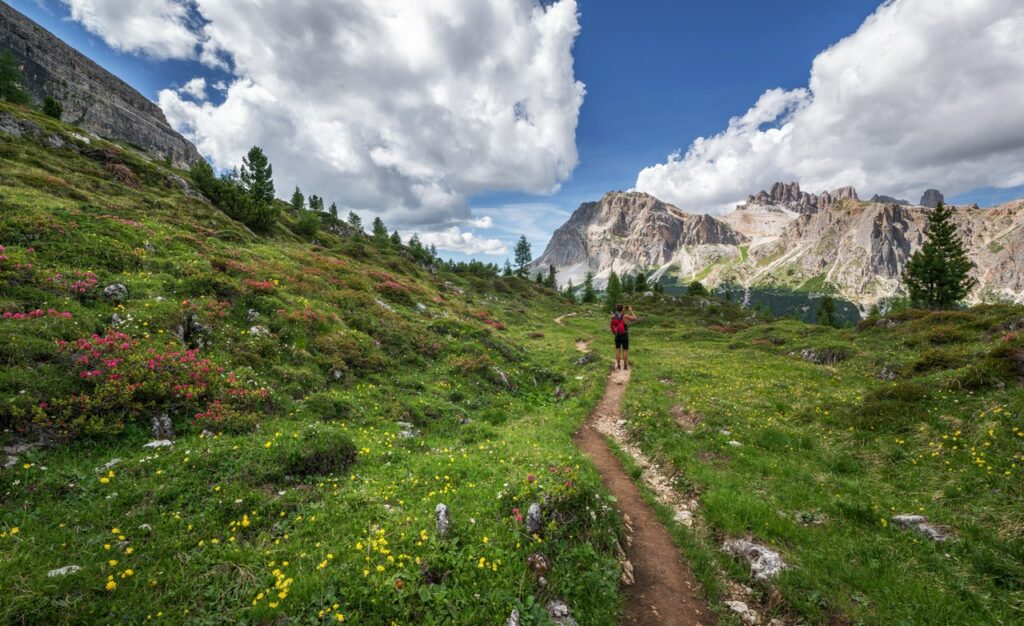
So – you’re ready for your first backpacking trip where weight really matters. Maybe you’ve done a few short-distance trips, but you’re now ready to cover 10+ miles a day. Or maybe you’ll be on the trail for a week or more and need to make more room for food. Or maybe you just want to make the trek a little easier. There are tons of reasons to start counting grams on the trail, and fortunately, there’s a ton of gear designed to be improbably light. Of course, you’ll usually sacrifice on something to get the perfect piece; usually weight/size, warmth, or price. You may be able to find a very small and affordable sleeping bag, but it’s not going to be as warm as a heavier or more expensive option. Or, you can get one that’s both very small and very warm – but you’ll need to be prepared to pay a lot more for it. So what’s the answer to avoid buying tons of expensive gear? Simple: buy backpacking gear that pulls double duty. So if you’re wondering how to cut weight while backpacking, here are 10 tips for saving weight and space on your next multi-day backpacking adventure.
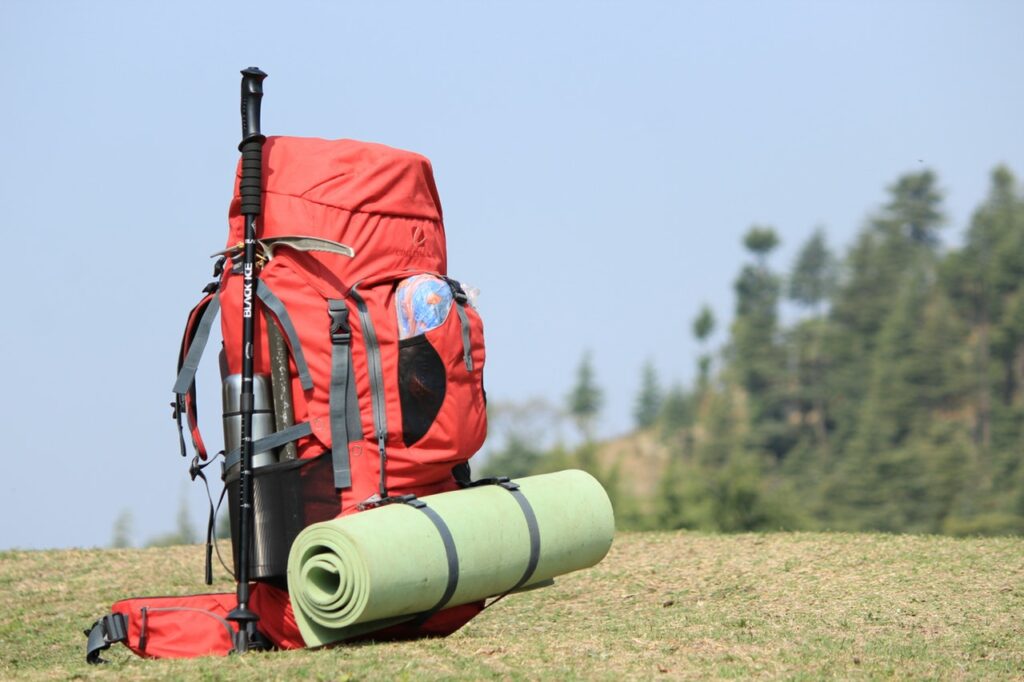
1. Carry a convertible backpack
Today’s lightweight backpacking backpacks are tech-heavy, from bags with interchangeable waist belts to bags with integrated solar capabilities. But to minimize how much you have to carry, look for a backpack that has a removable top pack. On many backpacking bags, a section of the bag (usually the top zipper pocket) can be completely removed to serve as a smaller bag, usually worn as a backpack or hip-belt. This allows you to have a small bag for side hikes once you’ve already set up camp, rather than having to carry an additional bag for that purpose.
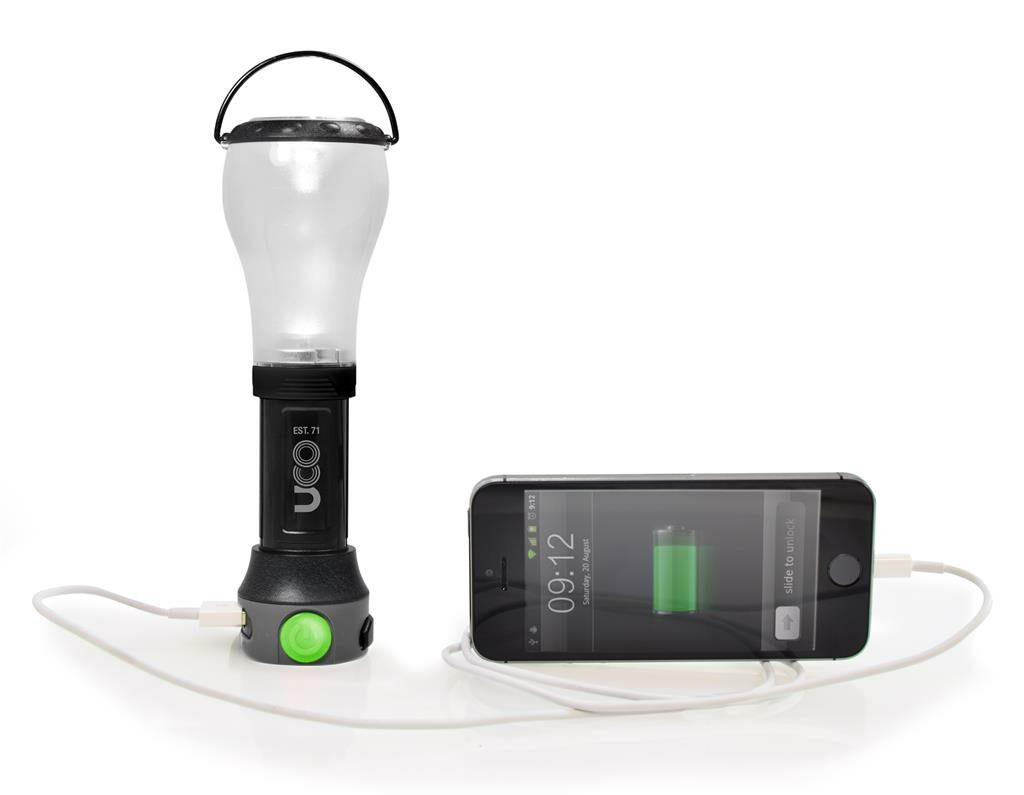
2. Bring a multi-use charger:
Most people would agree that it’s nice to have your phone with you while hiking, both to take photos and to call for help on the off-chance of injury. But your phone doesn’t do any good if it’s dead, so keep it charged with a device that pulls double duty, like the Pika LED Lantern. It’s an extremely lightweight (4oz) lantern-style light, perfect for illuminating your cooking area or inside of your tent. But the best part is the USB charging port, so you can juice up in the field. It even has a ring for hanging, making it a useful addition to your kit.
3. Skip the pillow
I love pillows. At home, I use at least four, and I’ll take a fifth if I can get it. But when it comes to backpacking, pillows take up far too much space. So when I backpack, I bring just one very small inflatable pillow and supplement it by shoving my clothing I’m not wearing into a small bag that I then use as a bottom pillow. Your sleeping bag’s stuff sack will probably be an excellent size. You can often tuck this makeshift pillow into your sleeping bag’s hood to keep it in place all night long.
4. Minimize your cooking tools
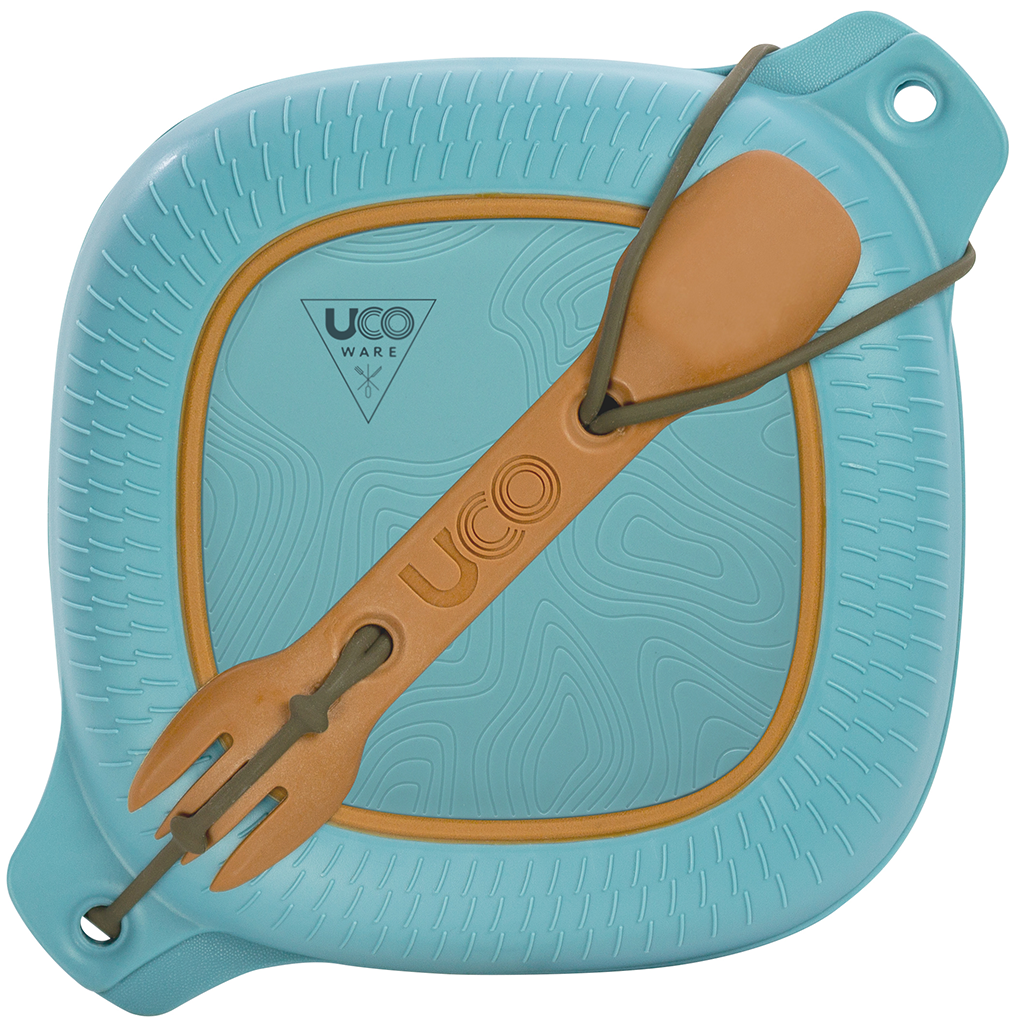
When I’m camping, I find that trying to anticipate in advance what dishes and tools I’ll need for my meals is a bit difficult. Instead, I just use a lightweight mess kit with tools that pull double-duty. The UCO four-piece kit has a bowl, a plate/lid, and a spork utensil that can serve as a knife, fork and spoon. It packs together to save space and retails for $15. Or you can buy a seperate fork/knife utensil set (Switch Spork) that can combine to form a long spoon / long fork for just $8. The kit frequently sells out (I’m not the only one who likes it!) so if you see it available, you might want to consider snagging it.
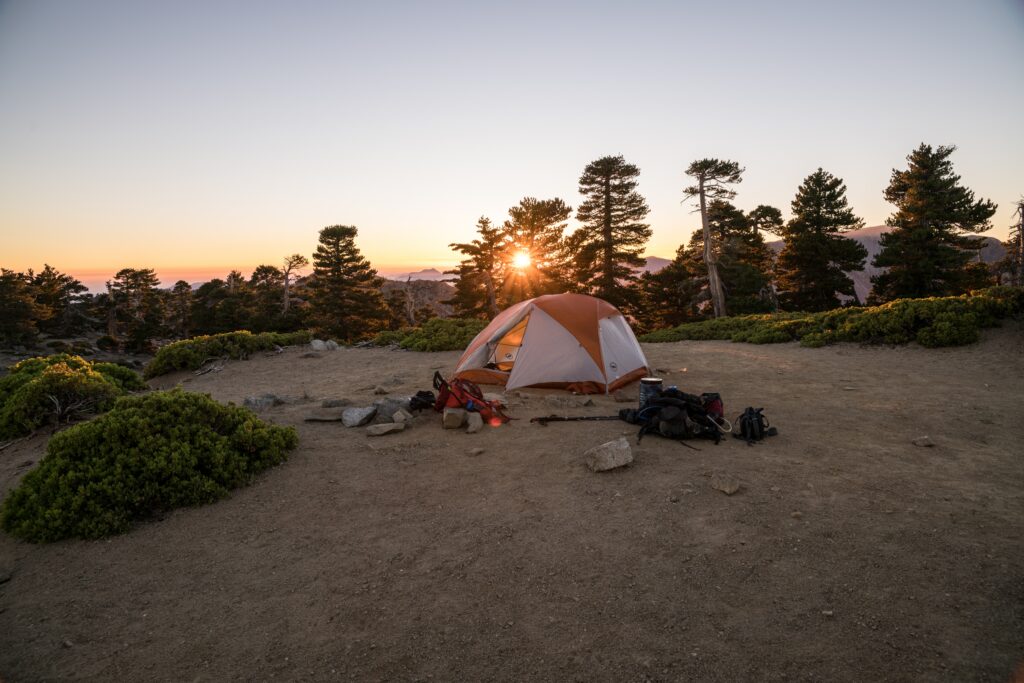
5. Reevaluate your tent poles
You probably know that there are two types of tents: freestanding tents, and tents that need to be secured with stakes. But there are also different types of tent covers, and if yours requires additional poles to hold up the flaps of the tent cover, consider using your hiking poles instead. Some tents are even designed to be used with hiking poles, saving precious weight. If you have a freestanding tent but are used to staking it down for security, just grab some nearby rocks and throw them in the corner of your tent, allowing you to leave the stakes at home.
6. The only multiple you need is socks:
I’m an advocate of embracing the dirt, which is maybe why I spend most weekends hiking or biking. But that mentality also applies to distance backpacking: aside from socks, you don’t need new clothes every day. If you choose quick-dry and odor-resistant fabrics, you can easily wear them several days in a row. And if they need washing, swing by a stream and give them a quick soak before hanging them back up to dry. The exception to this is socks as damp, dirty socks are going to increase your likelihood of blisters and offer reduced foot cushioning.
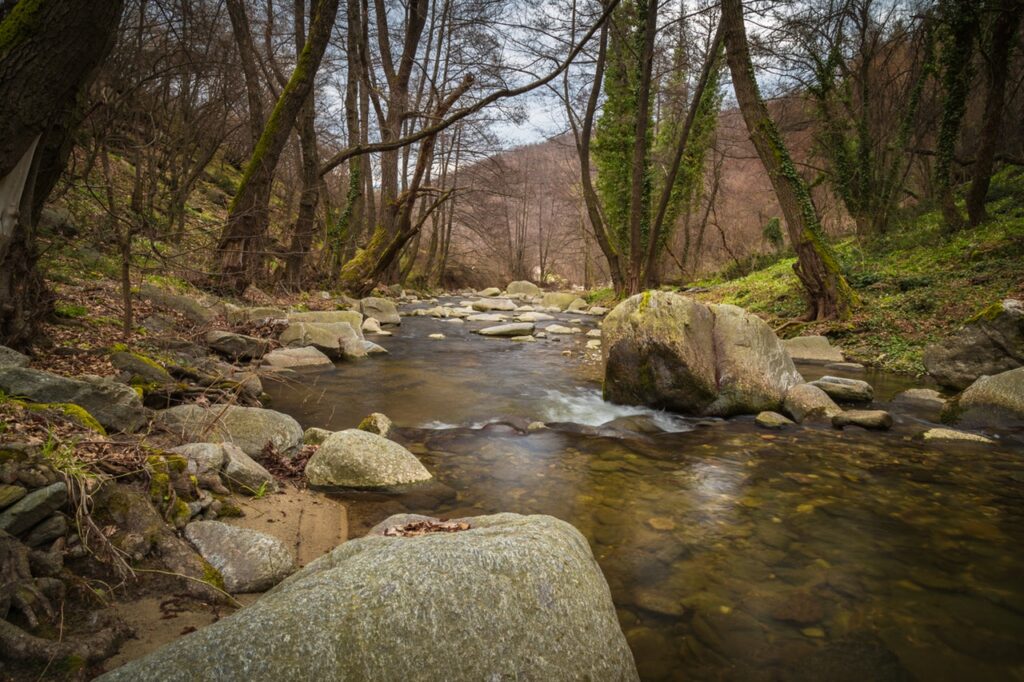
7. Don’t add water weight:
Since you’ve almost certainly planned your route in advance, you should know when you’ll be going past water features like streams or rivers. So plan to fill up your bottle at those locations, rather than carrying extra water weight. I use a small, one-person water filter from Lifestraw and a plastic Nalgene bottle, though you’ll find several companies making both filters and lightweight bottles. By carrying and knowing how to properly use a water filter, you can save tons of water weight. My one-person filter weighs just 1.6 ounces, though you can also use purification tablets if you prefer to cut even more weight while backpacking. And another use for that lightweight bottle? Fill it with hot water and put it in the bottom of your sleeping bag to keep your toes warm when going to bed.
8. Shake it off:
The dew, that is. You’ll likely wake up with a tent covered in morning dew, and we all know water adds weight. That’s why I like to take off my tent flap as soon as I wake up and either hang it or lay it out in the sun while I’m making breakfast and getting ready. The drier my gear is, the lighter weight it’s going to be when it’s packed up. The same goes for your camp towel (if you have one,) sleeping bag, and backpack: drier equals lighter.
9. Repackage your food:
For some trail meals, you’ll need the package; for example, many dehydrated stews and casseroles from brands like Backpacker’s Pantry and Mountain House are intended to be cooked in their sealable packets. However, you can ditch the heavy plastic packaging of other snacks, like trail mix, oatmeal, or granola bars. You can also pre-measure loose ingredients (like sugar or coffee) into smaller baggies rather than carrying the original packaging; this works especially well for spices. Consistently doing this for all your food items (as well as any essential toiletry items) is a great way to save weight while backpacking for an ultra-light experience. The bags can then be used for trash or dirty socks along the trail.
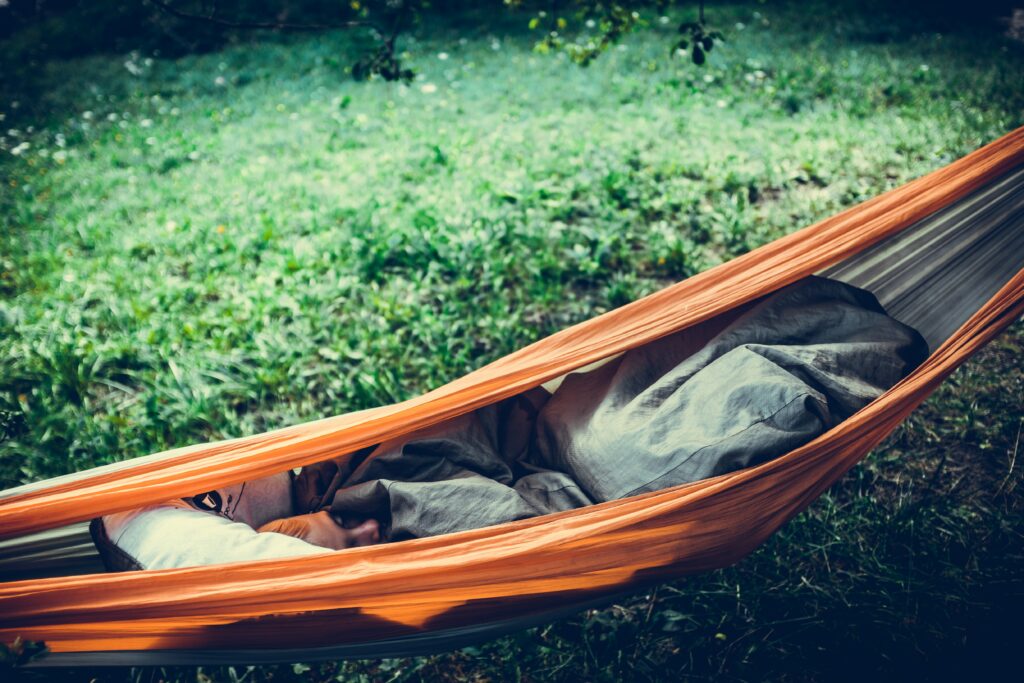
10. Prioritize one thing
I enjoy backpacking, but I get cold very easily, so I almost always have to add 10 degrees to a sleeping bag’s rating to get an accurate number for myself.
That means that a sleeping bag rated to 30 is only going to keep me warm to about 40, and that’s when the bag is perfectly clean and dry. So for me, the one thing I splurged on is a warm, ultralight sleeping bag. I made that work by buying less expensive versions of things I cared less about, like a more affordable tent and a very basic headlamp. Other backpackers may hate sleeping on the ground and decide that an ultra-light sleeping hammock is worth the splurge. It’s worth buying one item you love that ensures you’ll be comfortable and confident when you’re miles away from civilization.
By Suzie Dundas. Learn More…
About the Author: I’m an adventure freak and writer based in Truckee, in the Sierra Nevada mountain range of northern California. I’m passionate about the outdoors, from epic ski days in northern Japan to afternoons spent outdoors in Napa Valley.