How To Build Simple Survival Shelters
Shelters come in all shapes and sizes with the most important being the home we live in. Creating a home away from home will provide safety, security, and comfort. Tents are typically what come to mind when considering staying outdoors; however, it might seem unreasonable to bring a tent to all adventures. Luckily, there are simple alternatives that can be more effective.

The first shelter that is often overlooked is clothing. Clothing can dramatically impact performance and safety in a wilderness setting. A few items to consider before leaving on any outdoor adventure include:
1. Check the weather and choose clothing to match the highs and lows
Over and underdressing can lead to catastrophe. It is good practice to imagine staying out in the lowest temperatures and highest temperatures of the current season. Of course, there are always outliers to this, an unexpected storm, heat wave, or drop in temperature, but generally identifying the high and low temperatures of the season are going to be sufficient. Having the ability to stay out in the environment with only the clothing worn at that time is beneficial.
2. Dress in layers
Now that the high and low temperatures are known, it makes picking out clothing that much easier. Start by laying out clothing for the lowest temperature that may be encountered. Then imagine that the weather changes to the highest temperature. Choosing appropriate clothing is essential for the new weather situation. This may be done by removing layers to allow heat to escape from the body. Dressing with a layering system allows an individual to stay warm – adding layers and removing layers when necessary. Remember removing gloves, a hat or even unzipping a coat is part of the layering system.
3. Don’t forget to accessorize
Outliers in the weather are what can be the most problem some. An unexpected rainstorm, high winds, or a sudden extreme drop in temperature can negatively impact clothing choice. It is never a bad idea to pack rain gear, gloves, a hat, extra socks or even an extra lightweight coat for unexpected situations. It is always easier to have it and not need it than to need it and not have it.
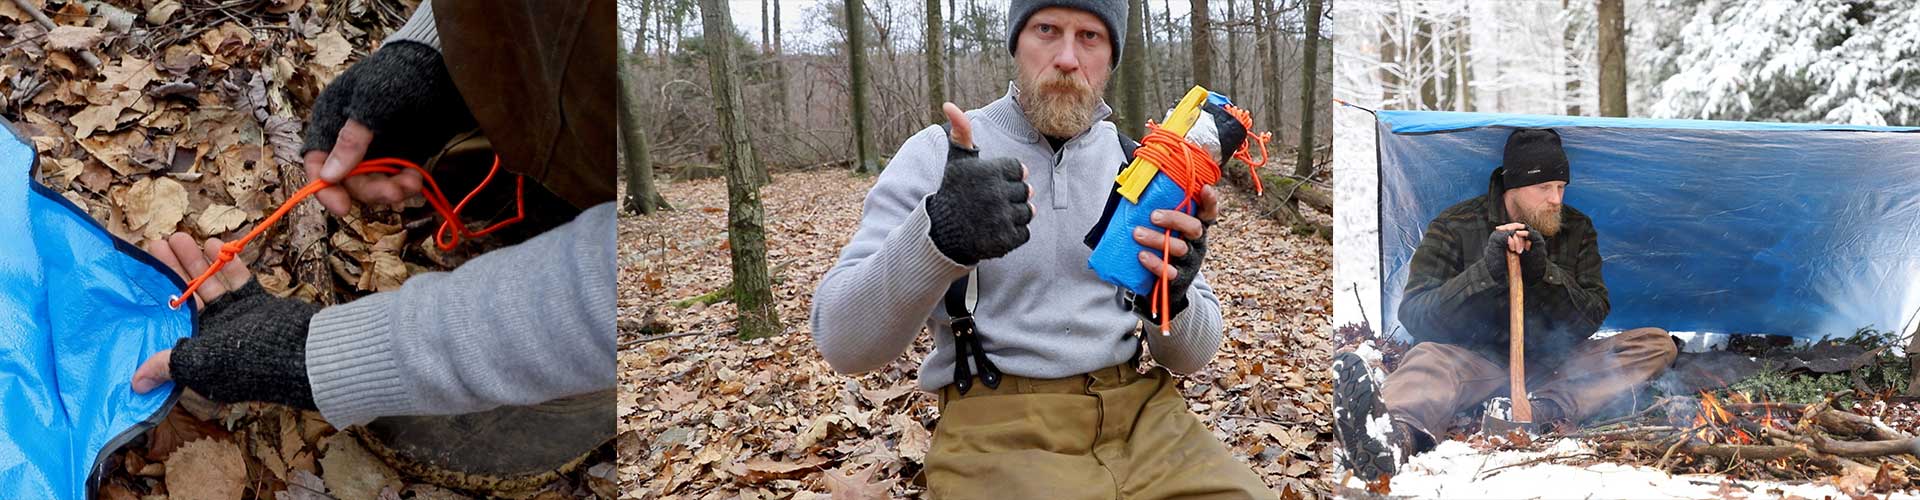
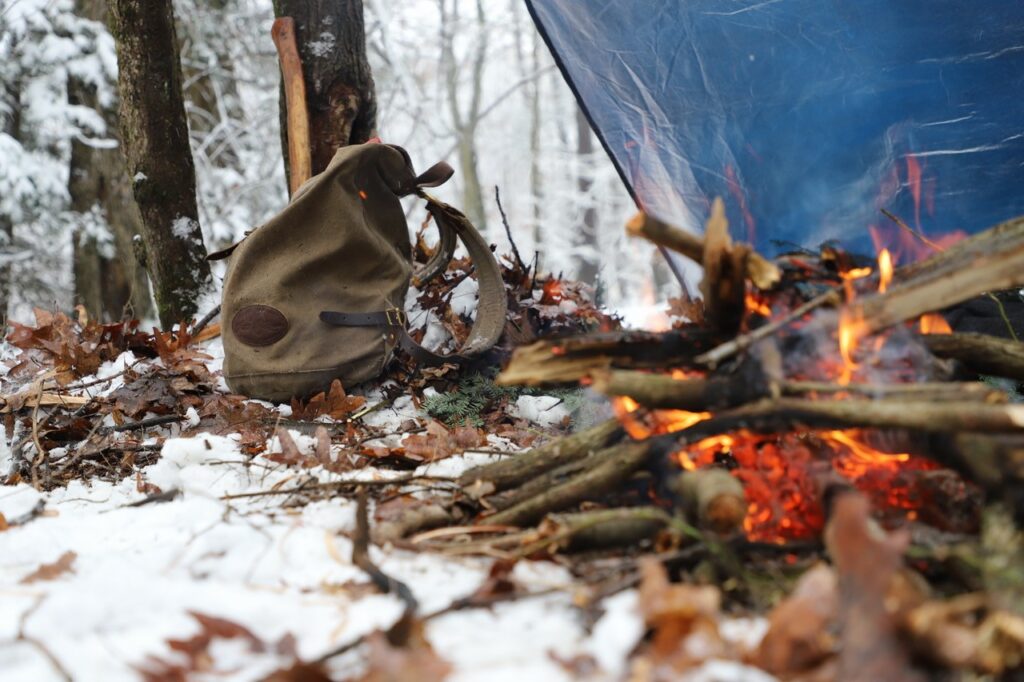
Beyond clothing, it is important to have an actual shelter to settle in. Most people think about tents and forget about tarps; however, a simple tarp shelter can be set up in under one minute and effectively protect an individual from the most adverse weather conditions. Think of this setup as an emergency tool to always carry along.

Emergency Tarp Shelter – Required Items List
- 1. One 4×6′ or 5×8′ tarp – these can be found at any major box store such as Home Depot or Target.
- 2. Four tent pegs – choose something small and lightweight,
- 3. One 50’ roll of paracord.
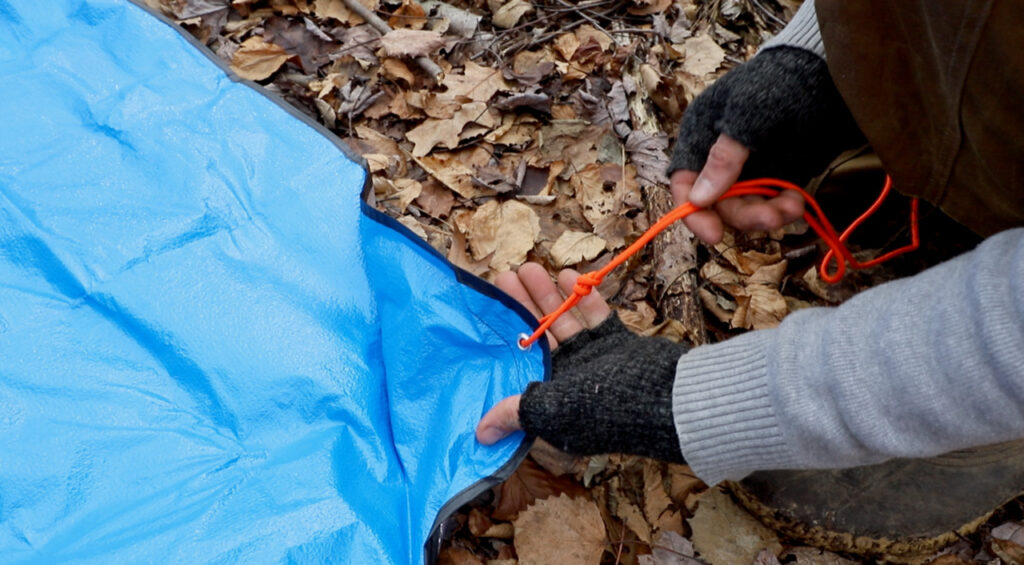
Next, prepare the tarp shelter. In order to do this, you need to first, lay out the tarp out in a fully opened position. Second, cut the paracord into pieces – 4×1’ and 2×15’. Third, on the widest ends of the tarp place each 15’ section through the grommet and secure with a knot near the grommet. Fourth, place the 1’ sections in each grommet and tie a knot near the end of the paracord creating a loop. Finally, roll up the tarp with connected lines and pack away until needed.

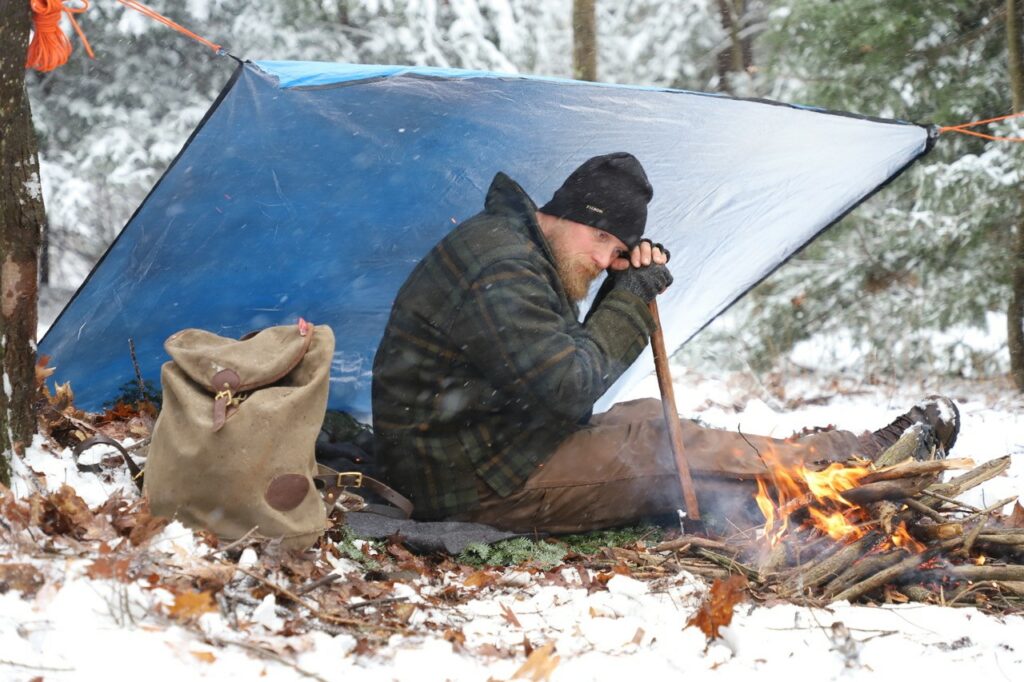
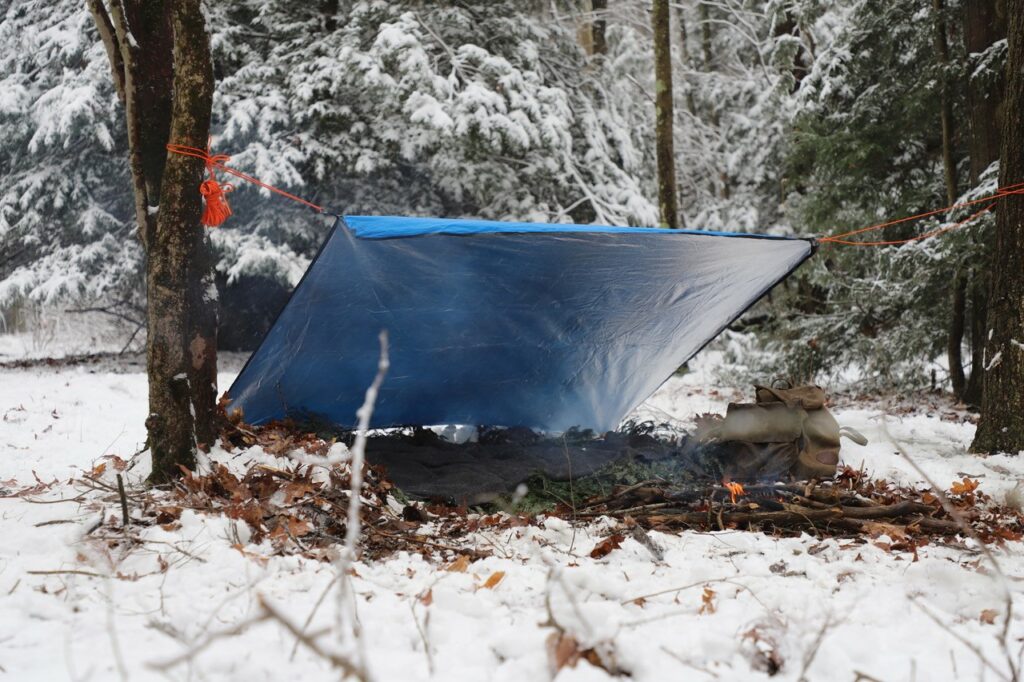
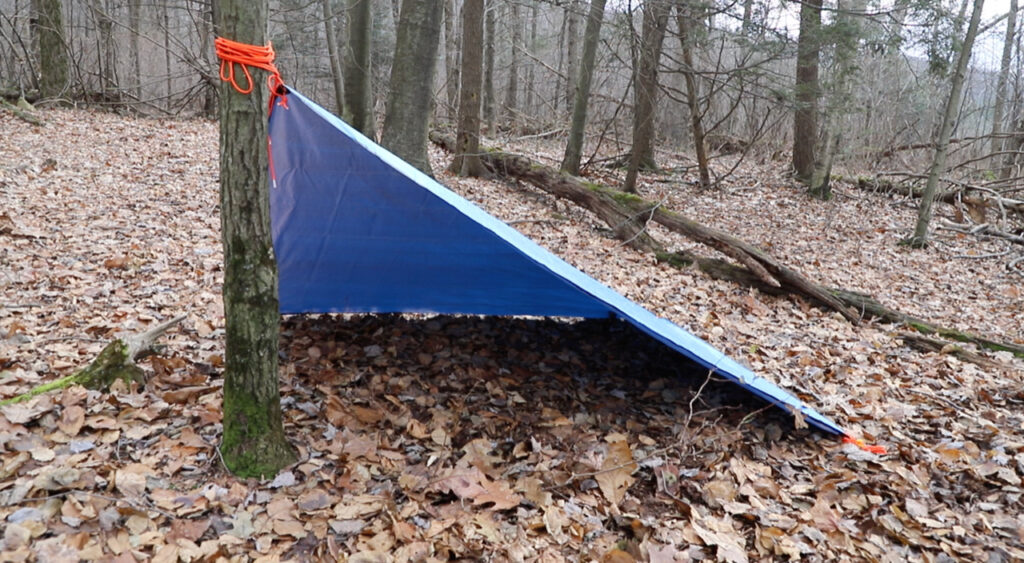
Once the tarp shelter is prepared it is time to practice the setup. There are two types of emergency tarp shelters that can be used. The first type of shelter is a lean to. A lean to shelter is secured to two trees and appears to be leaning forward with a wide open front. The most beneficial part of a lean to shelter is due to its open face as it allows for a long fire in front of the shelter. In extremely cold environments the shelter traps heat from the fire and creates a warm environment for the user. The downfall with a lean to shelter is that it does not give the user a sense of security due the openness of it. Also, if the shelter is positioned incorrectly to the wind it quickly becomes a wind catch voiding its primary purpose. The second shelter is called a plow point. A plow point shelter is secured to a tree by one anchor point the three remaining corners are staked to the ground. This type of shelter offers the user tremendous protection from in climate weather and is the fastest setup.
With minimal practice, an individual can become proficient at setting up both types of shelters. Most importantly, there is no hassle with carrying the tarp as part of your outdoor kit. Pair this with being dressed properly for the environment, and being safe in the outdoors just got that much easier.
About The Author
DAN WOWAK – APPALACHIAN BUSHMAN SCHOOL
Dan Wowak, Owner and Instructor, of Coalcracker Bushcraft and the Appalachian Bushman School, has been an avid outdoorsman since childhood. His love and passion for the outdoors began while fishing and hiking with his grandfather in the hills of Appalachia. Over the years, he continued pursuing his love for the outdoors through backpacking, camping, hunting, and trapping. As time went on, Dan’s enthusiasm for the outdoors compounded with his drive for reaching his physical and mental limits. The collision of these two passions launched him into the unforgiving, highly dynamic world of survival and bushcraft. He spent years honing this craft and was driven to inspire individuals to pursue a love of wilderness skills. Dan has been formally teaching and sharing knowledge of survival and wilderness living for several years. Most recently Dan has had the opportunity to put his lifetime of knowledge and foundational survival approach to the test on History Channel’s Alone Television Series.